Implemented without difficulty, with a little technicality and care, linoleum remains a modern flooring product with many advantages.
Existing for almost 150 years, linoleum has been brought up to date, in the interiors of individuals as in LES, for fifteen years. Often confused with PVC floor coverings, this natural product is both more rigid and brittle, which requires special precautions in its handling and implementation.
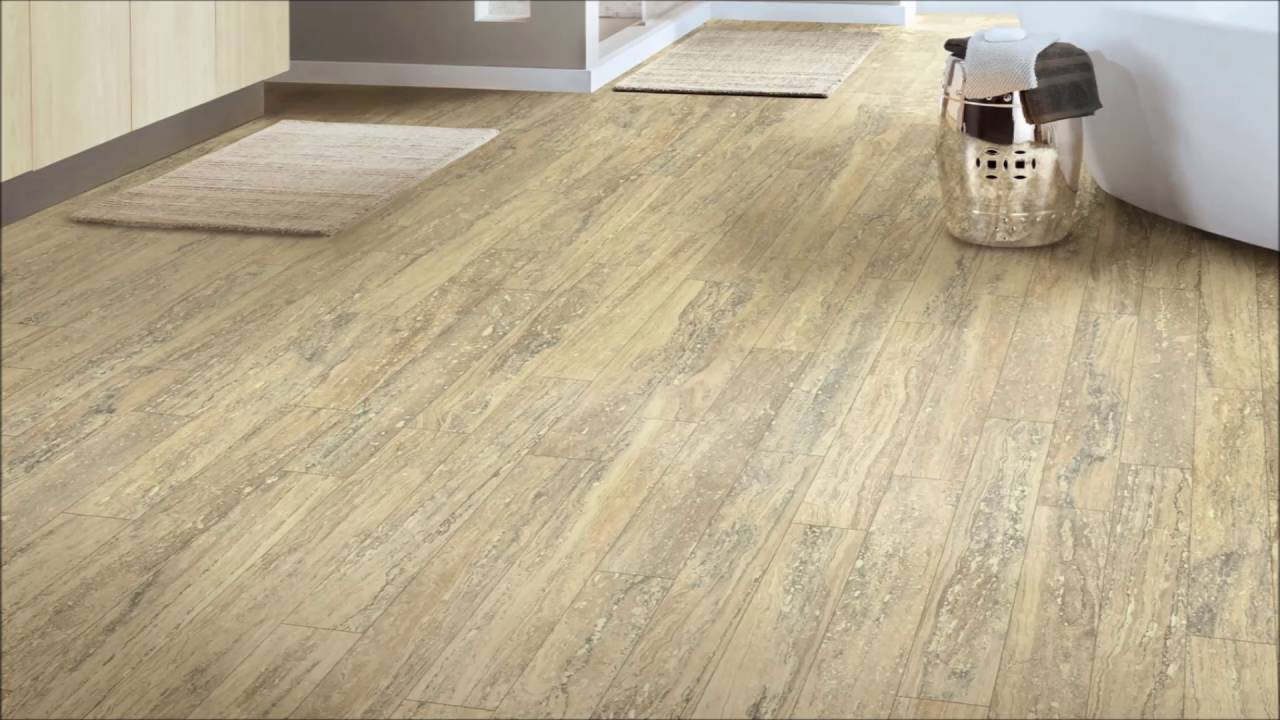
Dyed in the mass, the linoleum has a heterogeneous pigmentation characteristic flame which charms all the more that the product has modernized, by undergoing in the factory a surface treatment which limits its maintenance by avoiding the traditional waxing. Make sure to use a flooring expert to install your new floor, as this is as much of an art as a science, and experience and skills matter.
The fixing technique
The basic implementation is neither more technical nor longer than that of a PVC coating. Its specificity is to use the drawing technique, which avoids breaking the edges of the linoleum around obstacles. The other laying characteristic is heat sealing by thermal welding, made with a round PVC bead, 4 mm in diameter, melted and leveled.
One of the advantages of linoleum is its fresh installation in acrylic glue.
The scratches of this noble product are repaired with a mixture of wood wax and powder obtained by scraping linoleum of the same color.
Avoid damp rooms
This coating is not recommended in damp rooms, as plinth rises are difficult to achieve due to the brittle nature of the product. Preformed plinths are however marketed, which allow a plinth to be raised by welding before the corner of the wall.
In addition to the basic laying of flooring, linoleum, available in a wide range of shades, lends itself well to decor inlays, the making of which is also an integral part of the training.
The linoleum rolls are stored upright, except those whose width exceeds 2 m (be careful, a roll thrown on the ground can break). It is also important to respect the bath numbers of the rolls and, as much as possible, the roll numbers in order to obtain a harmonious color rendering.
The strips, cut 24 hours in advance, are stored flat to allow the burlap to relax. They cannot be placed below 12 °C. Linoleum is a living product which shrinks on contact with the humidity of the adhesive, approximately 1 mm per 2 linear meters. It is advisable to take this into account for strips more than 4 or 5m long.
Steps to make this floor
1 – 48 hours at least after a leveling, at least 3 mm thick, the floor is sanded and cleaned. The piece of linoleum is cut and the direction of the web is indicated on the reverse. The strips are laid in the same direction to respect the “flaming” (streak effect in the pigmentation appearing during the production of the lino sheet, when the dough is “calendered”, compressed by rollers).
2 – The industrial edge is equalized to the edge cutter and will serve as a reference (welding area with the next strip).
3 – By pushing the end of the web in the opposite direction to its folding into a roll, the burlap, relaxed, “cracks”.
4 – Marking in pencil on a reference wall and the ground will allow the strip to be repositioned exactly after fixing.
5 – Offset from the wall, making sure to remain parallel to the plinth with a marking on the ground, the strip is scratched with the tip of a large girder, whose knurl follows the exact relief of the plinth.
6 – The strip is removed, folded and cut with the crooked blade. Then it is precisely repositioned, thanks to the vertical and horizontal marks. The same operation is repeated for the other two edges of the strip.
7 – Gluing of the support is carried out using a spatula with a specific acrylic adhesive (400 g / m2) and the adhesive glued fresh. The second strip covers the first by 2 or 3 cm. Its ends are rigged; the joint between the two strips is made in glue with a small pen.
8 – The resulting joint is almost edge to edge (a deviation of 0.2 mm is tolerated). The masking hammer allows the edges of the strips to be properly retracted.
9 – The joint is chamfered with an electric chamferer. The rear caster is aligned with the seal.
10 – Near the wall, the chamfer is made with a gouge for uniform coating and then with a straight blade, which also makes it possible to clean debris.
11 – The thermobonding is carried out with the measured length of bead. The weld cannot exceed two-thirds of the thickness of the coating or the radius of the bead (here 2 mm). The heat of the soldering iron is adjusted so that the cord melts without burning.
12 – A first leveling is carried out hot, using a quarter moon and its guide (or with a Mozart knife). Do not start at the start of welding to prevent the bead from coming loose. After a second finishing pass, without guide, performed 10 minutes later with the same tool, the result is almost invisible.